
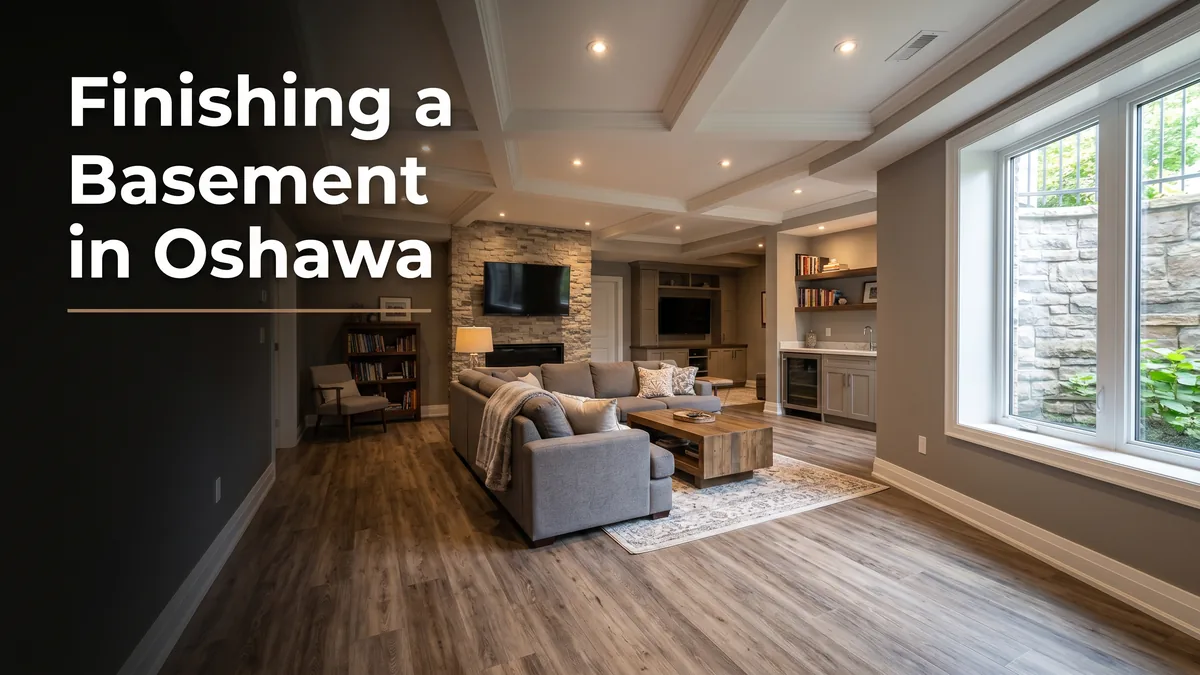
There is a stubborn myth about basement renovations in Oshawa: that finishing a basement is mostly drywall and paint, a quick weekend-ish project you can knock out cheaply. It is not. A basement is below grade, which means moisture, low ceilings, and emergency exits are all on the table before you ever think about finishes. Get that order right and you gain a beautiful, dry, code-compliant space. Get it wrong and you finish over problems that resurface within a year. Our basement finishing service in Oshawa starts with those fundamentals, not the paint chips.
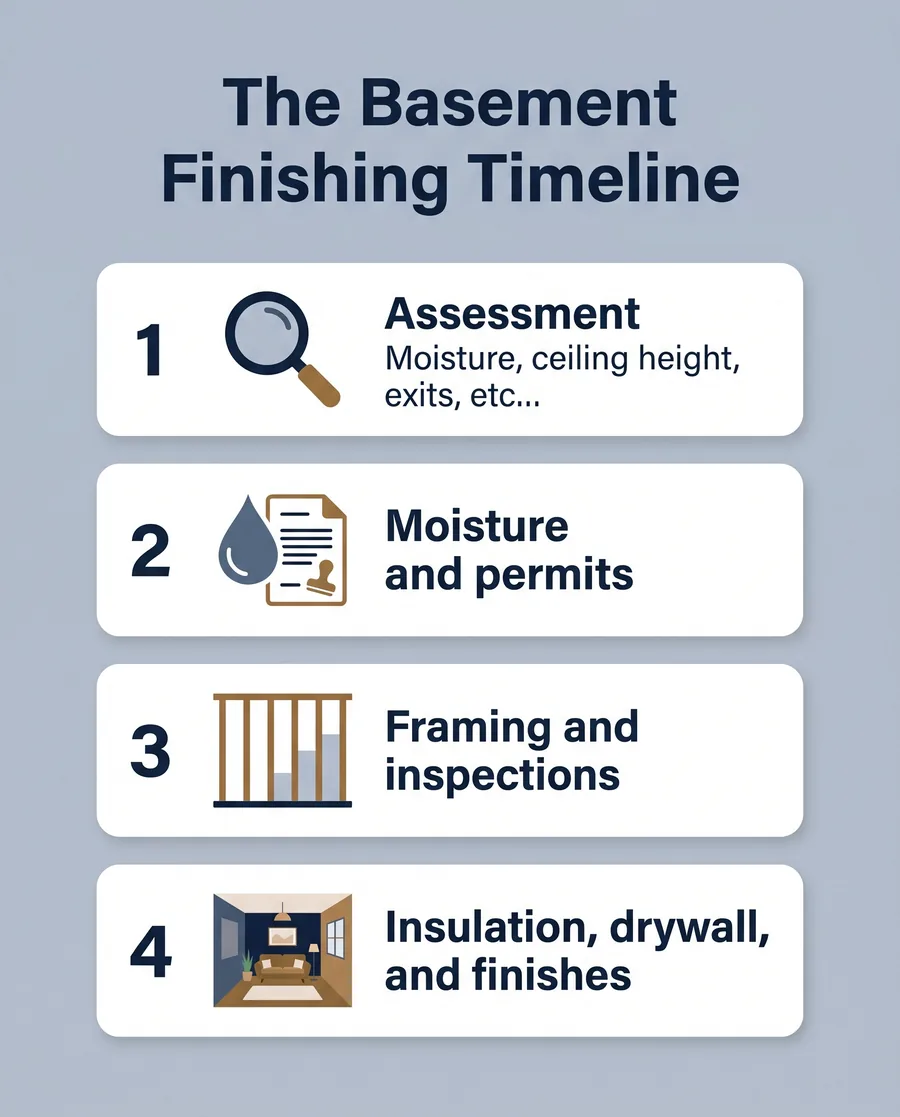
So forget the weekend-project framing. Here is the realistic timeline of a basement finish, stage by stage, so you know what actually has to happen and in what order.
In this article
Before day one: the assessment
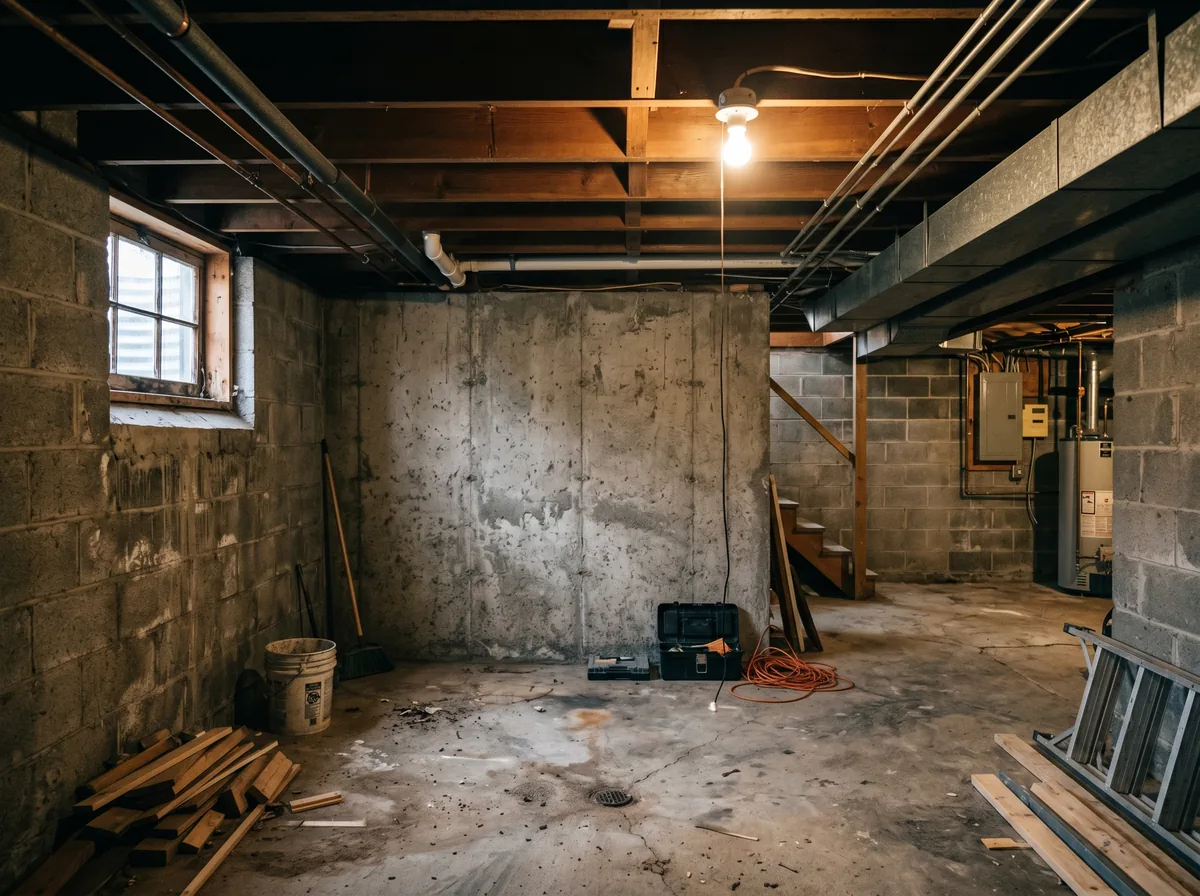
Start here, before you buy a single sheet of drywall. Walk the basement and look hard at three things: moisture, ceiling height, and exits. Are there water stains on the walls or floor? Does the air smell musty? How tall is the ceiling, really, once you account for ducts and beams? Is there a window big enough to climb out of in an emergency?
Those three answers shape the entire project. A damp basement needs waterproofing first. A low ceiling limits what you can build. And any basement bedroom needs a proper egress window by code. Knowing all this up front is the difference between a smooth finish and a nasty surprise halfway through.
Red flag: standing water, efflorescence, or a musty smell
If you find pooling water, a white chalky residue on the concrete, or a persistent musty smell, do not frame over it. Those are signs of an active moisture problem, and finishing on top of one is the surest way to grow mould behind your new walls. Solve the water first, through grading, drainage, or waterproofing, before any framing goes up. This single step prevents the most expensive basement regret there is.
Weeks 1 to 2: moisture, permits, and the plan
Permits, Fire Codes, and Zoning: Finishing a basement in Oshawa requires a building permit, and all electrical work requires a separate ESA (Electrical Safety Authority) permit. If your plan includes adding a kitchen to create an independent rental unit or in-law suite, this triggers Oshawa’s Accessory Dwelling Unit (ADU) regulations, requiring strict fire separations, HVAC separation, and zoning compliance. Confirm your specific requirements with the City and have the design reviewed by a professional before you build.
With the assessment done, the early weeks are about solving water and getting approvals. If the basement has any moisture history, waterproofing comes first, whether that is improving exterior grading and drainage or an interior system. At the same time, finalize the layout and apply for your permit. Finishing a basement is permitted work in Oshawa, and the City reviews the plan against the Ontario Building Code. You can start the application through the City of Oshawa building permits service.
Did you know
A basement bedroom is not legal without an egress window. The Ontario Building Code requires a bedroom below grade to have a window large enough, and low enough, for someone to escape through and for a firefighter to enter. That often means cutting the foundation and adding a window well, which is real work to budget for. If your plan includes a bedroom, factor the egress window in from the very start rather than discovering it at inspection.
“We skipped waterproofing to save money and finished the basement. Eight months later we tore out a whole wall of new drywall because of mould. Do the water first.”
A homeowner’s hard-learned lesson, paraphrased from renovation forums
Month 1: framing, rough-ins, and inspections
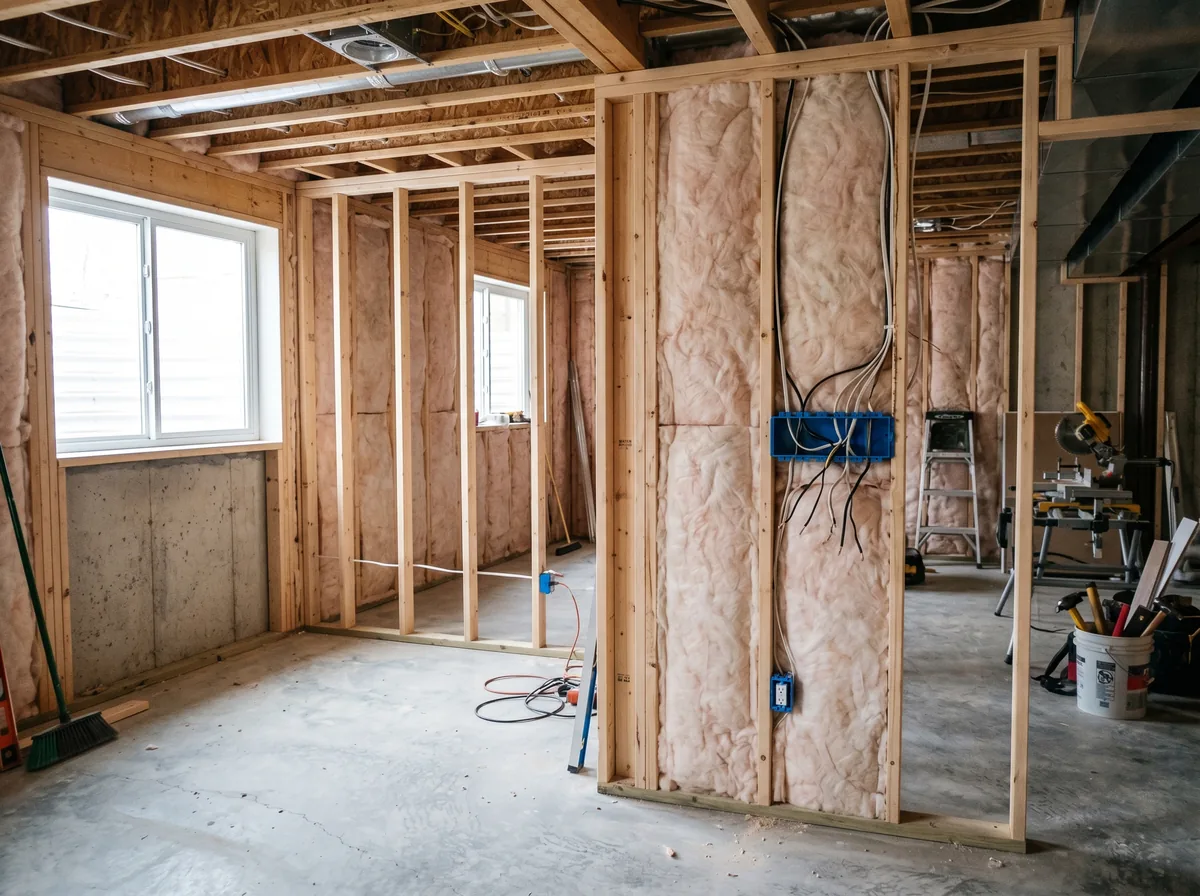
Now the space starts to take shape. Walls get framed, leaving the right gap and using the right materials for a below-grade space. This is also when the rough-ins happen: electrical wiring, any plumbing for a bathroom or wet bar, and HVAC adjustments (which often require professional heat loss/gain calculations to ensure code compliance) so the new rooms get proper heat and air. If you are after a how-to feel for the framing stage, the video below walks through framing basement walls.
Do not rush past the inspections. The City inspects the framing and rough-ins before they get covered up, because once drywall is on, no one can see whether the wiring and framing were done right. Booking and passing these inspections is exactly what protects you, and it is what a future buyer will want to see.
Months 2 to 3: insulation, drywall, and finishes
With inspections passed, the basement gets insulated, drywalled, and finished. This is the stage everyone pictures: flooring suited to below-grade conditions, trim, paint, lighting, and the kitchen or bathroom fixtures if the plan includes them. It is the most visible stage, and the most satisfying, precisely because all the invisible work underneath it was done properly.
People often ask: how long does finishing a basement take?
For a typical Oshawa basement, plan on roughly two to three months from start to finish, longer if there is waterproofing, underpinning, or a complex layout. The construction itself is often the shorter part. The timeline that surprises people is the front end: the assessment, waterproofing, design, and the time the City needs to issue the permit. Build the approval period into your schedule, and the project will feel far less stressful than if you expect to start framing next week.
What done looks like
A finished basement done right is dry, warm, well lit, and legal. The moisture is handled so the air stays fresh. Any bedroom has its egress window. The framing and electrical passed inspection. And you have a permit on file that proves it, which matters every bit as much as the finishes when you sell. If your basement project is part of a larger plan, it often pairs well with a broader interior renovation in Oshawa so the work flows in one coordinated push.
What finishing a basement costs in Oshawa in 2026
Pricing note: The figures on this page reflect typical 2026 budget impacts in the GTA. What you actually pay depends on the size and scope of the project, the condition of your home, finishes, site access, and permit and design fees. Always get a written quote and a design or feasibility review before committing to a renovation.
Basement finishing costs vary widely with size, layout, and how much moisture or height work is needed before finishing even begins. The breakdown below highlights typical 2026 budget impacts to help you sanity-check your plans.
| Scope | Budget Impact (2026) | What it covers |
|---|---|---|
| Basic finish (open rec room) | Base Investment (Significant core costs) |
Framing, insulation, drywall, flooring, electrical, and lighting |
| Finish with a bathroom | High Impact (Adds substantial plumbing costs) |
Trenching the concrete slab for drains, plumbing rough-ins, fixtures, ventilation |
| Egress window and well | Moderate Impact (Requires exterior excavation) |
Cutting the foundation, digging the well, and installing an OBC-compliant escape window |
| Waterproofing (if needed) | Variable / High Impact (Crucial to do before framing) |
Interior trenching, exterior excavation, or sump pump installations depending on the issue |
If finishing the basement is not the best use of your budget, it is worth comparing it against an addition or a wider whole-home renovation to see where you get the most livable space for the money.
Sources and further reading
- City of Oshawa, Building Permits. oshawa.ca
- Electrical Safety Authority (ESA), Permitting and Inspections.
- Government of Ontario, Ontario Building Code. ontario.ca
- Acadia Design Consultants, in-house 2026 GTA basement finishing pricing observations.
- This Old House, “How to Frame Out Basement Walls” (video, embedded above).
Frequently asked questions
Do I need a permit to finish a basement in Oshawa?
Yes. Finishing a basement into livable space is regulated work that requires a building permit from the City of Oshawa, plus a separate ESA permit for any electrical work. The City reviews your plan against the Ontario Building Code and inspects the framing, electrical, and other rough-ins before they are covered with drywall. Permits protect you by putting trained eyes on the work, and the paper trail matters at resale, since buyers increasingly ask whether finished spaces were permitted. Unpermitted basement work can stall a sale or force you to open finished walls for retroactive inspection, so it is far cheaper to permit it up front.
Does a basement bedroom need an egress window?
Yes. Under the Ontario Building Code, any bedroom below grade must have an egress window: one large enough and low enough for an occupant to escape and for a firefighter to enter during an emergency. In most Oshawa basements that means cutting the foundation wall and installing a window well, which is real construction to plan and budget for. If your basement design includes a bedroom, factor the egress window in from the start. Discovering the requirement at inspection is a costly and avoidable delay.
How long does it take to finish a basement in Oshawa?
For a typical basement, plan on roughly two to three months from start to finish. It runs longer when waterproofing, underpinning for ceiling height, or a complex layout with a bathroom are involved. The construction itself is often the shorter part of the timeline. What surprises many homeowners is the front end: the assessment, any moisture work, the design, and the weeks the City needs to issue the permit. Building that approval period into your schedule keeps the project realistic and far less stressful.
Is it worth waterproofing before finishing a basement?
If there is any sign of moisture, absolutely. Finishing over a damp basement is the most common and most expensive basement renovation mistake, because water trapped behind new walls leads to mould and forces a tear-out. Waterproofing first, whether through better grading and drainage or an interior system, protects everything you build on top of it. Even in a dry-seeming basement, it is worth having the moisture situation assessed before framing. The cost of prevention is small next to the cost of redoing a finished basement.
If it were my own basement
If it were my own basement, I would spend the first dollar on the assessment and the water, not the finishes. Every basement I have seen go wrong went wrong below the drywall, never above it. Solve the moisture, pull the permit, pass the inspections, and the pretty part takes care of itself. That order has never once let me down.
Download the free quick guide
A printable stage-by-stage checklist from the first assessment through moisture, permits, framing, and finishes.
Planning to finish your Oshawa basement?
We start with the assessment and the moisture, design a layout that meets code, and handle the permit so your basement is dry, safe, and legal. See our basement finishing service in Oshawa, learn about our approach, or contact our team to get started.