
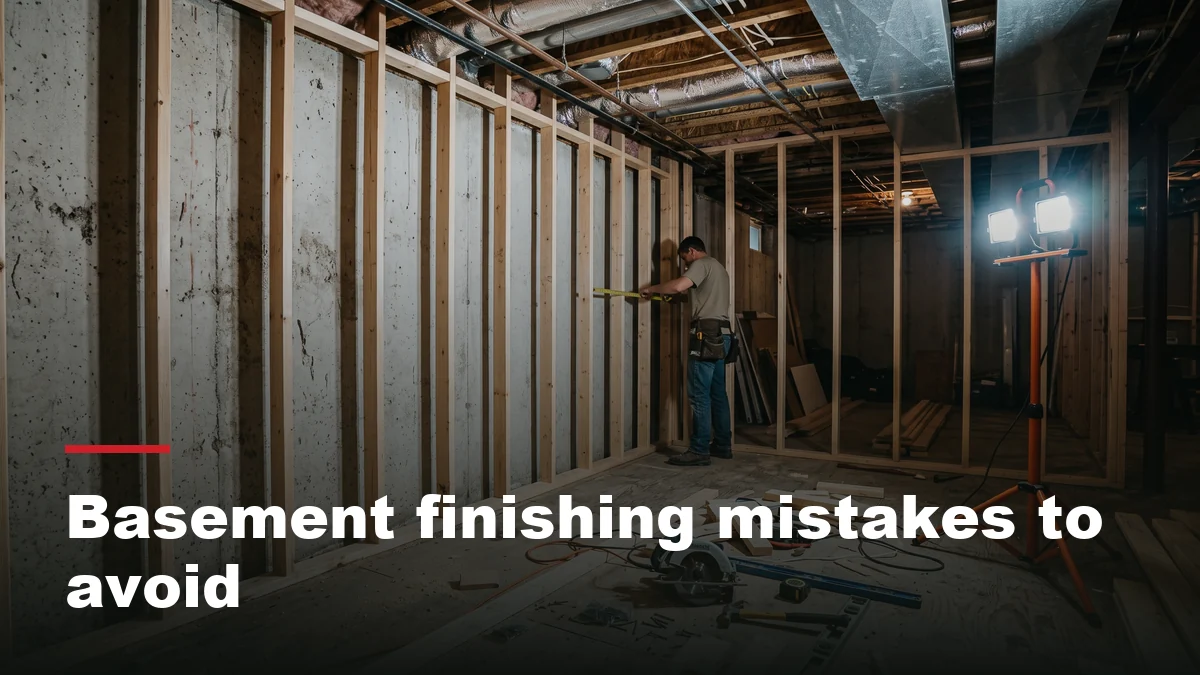
Six mistakes account for nearly every basement finishing mistakes call-back we hear about in Barrie: the same handful of decisions, made early and never revisited, that turn a promising basement into a damp, low-ceilinged, or noisy problem a few years later. None of them are exotic. All of them are avoidable if you know to ask the question before the drywall goes up, which is exactly what our basement renovation crew working in Barrie walks every client through before framing starts.
This is a prevention playbook, not a horror-story list. Each section below covers one recurring mistake, why it happens, and what to check for before it becomes part of your finished space.
Why basement finishing mistakes are so easy to make
A basement is the one part of the house where mistakes hide. Framing and drywall cover the foundation wall, the subfloor covers the slab, and a dropped ceiling covers the ductwork. Everything looks finished on the day the project wraps, and most basement finishing mistakes only show up a season or two later, once winter humidity or a first cold snap tests decisions nobody could see being made. That is why prevention matters more here than in most other renovations: catching a mistake after the walls close usually means opening them again.
Red flag
If a contractor wants to start framing on the same visit as the estimate, without a separate assessment of moisture, height, and the mechanical layout, treat that as a reason to slow down and ask more questions.
Mistake 1: Framing before moisture is dealt with
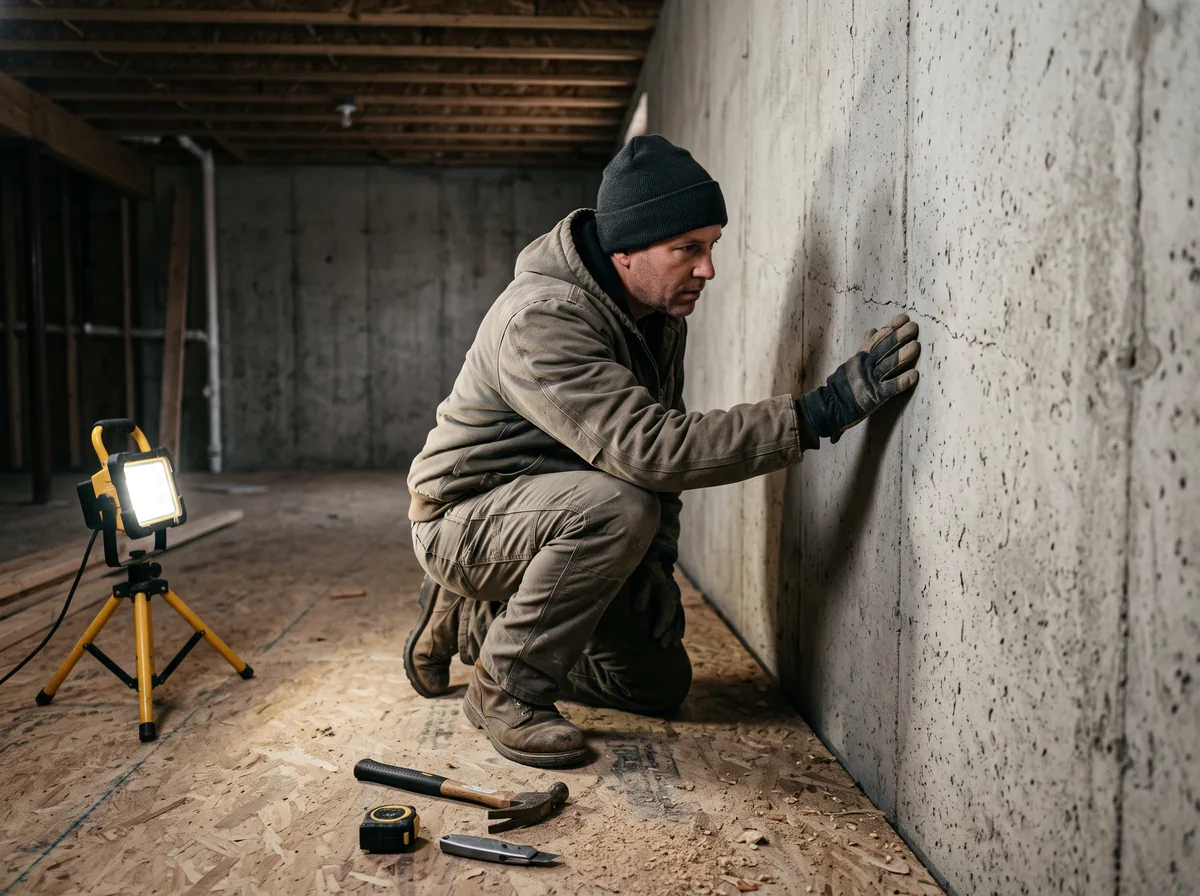
The single most common basement finishing mistake is building the room before the moisture question is answered. A foundation wall that feels dry in August can still let water vapour through, and framing directly against it traps that moisture behind drywall where nobody sees it until a musty smell or visible staining shows up. Before any framing starts, the wall should be assessed for dampness, efflorescence, or past staining, and any active leaks or grading issues outside the house should be corrected first.
Insulation choice matters here too. A material and assembly that manages moisture well against concrete is not the same as what works in an above-grade wall, and getting that detail wrong is how a basement ends up finished twice.
Mistake 2: Ignoring ceiling height and headroom
Ductwork, plumbing drains, and beams already claim part of a basement’s height before a single stud goes up, and a dropped ceiling to hide them eats several more inches. A basement that measures comfortable floor-to-joist height on paper can feel noticeably tight once the mechanical layout and ceiling are in place, especially under a beam or in a stairwell.
Save your money
Map the height at multiple points, not just the centre of the room, before finalizing a layout. Relocating a duct or bulkhead before framing is far less disruptive, and far less expensive to redo, than discovering the low point after the ceiling is installed.
Mistake 3: Getting egress and window sizing wrong
Any basement bedroom needs a way out in an emergency that does not rely on the stairs, which generally means an egress window sized and positioned so a person can climb through it. This is one area where guessing is a bad idea: window sizing, sill height, and window well dimensions are all covered by Ontario’s Building Code regulation, and requirements can differ depending on the room’s use. Confirm sizing for your exact layout with your contractor and, where a permit applies, with the city before the window opening is cut. Skipping this, or resizing an existing small window without confirming it meets what the room needs, is expensive to fix later because it usually means cutting the foundation wall a second time.
Mistake 4: Skipping HVAC and return air planning
Finishing a basement adds enclosed rooms to a heating and cooling system that was likely sized for one open space. Supply ducts get extended fairly often. Return air, the path that lets air travel back to the furnace, gets forgotten far more often, and a basement without enough of it tends to feel stuffy, uneven in temperature, or draws air under doors in a way that is uncomfortable rather than dangerous, but avoidable either way. The fix is planning return air paths into the layout from the start, whether that means a dedicated return in a larger room, a transfer grille, or an undercut door, rather than treating it as an afterthought once the walls are already framed.
Mistake 5: Framing directly against foundation walls
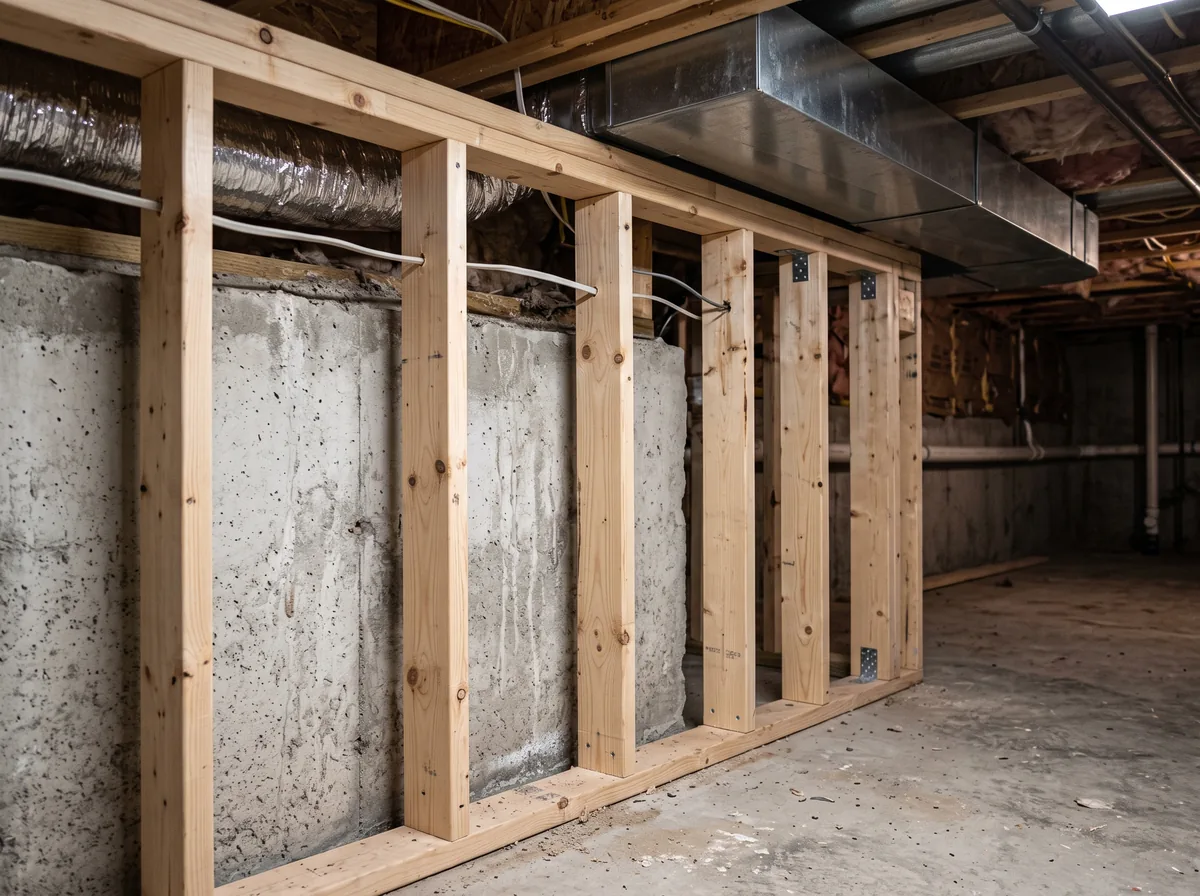
It is tempting to push framed walls tight against the foundation to claim every possible inch of floor space, but a small gap between the stud wall and the concrete generally allows airflow and gives you somewhere to see a future problem before it is buried behind drywall. Framing that touches damp concrete directly is one of the more common basement finishing mistakes that only gets noticed once drywall is already up.
Red flag
If a contractor’s plan has framed walls sitting flush against bare concrete with no gap and no vapour strategy discussed, ask how moisture behind that wall would ever be noticed. A specialist basement crew should have a ready answer.
Mistake 6: Building over the sump and floor drain
A sump pit and a floor drain exist to move water out of the basement when something goes wrong upstream, whether that is a sump pump doing its normal job or a hose letting go. Framing a closet or built-in over either one, or covering them with flooring that is not designed to be lifted, turns a five minute check into a demolition project the day you actually need access. Plan layouts so both stay reachable, ideally behind a removable panel or in a dedicated small utility space. It is a small planning decision that only matters on the one day it matters, which is exactly why it gets missed.
Save your money
Design storage around the sump and floor drain instead of over them. A dedicated utility nook with an accessible panel costs little to plan for up front and avoids a much larger repair bill later.
What a mistake-free basement finishing sequence looks like
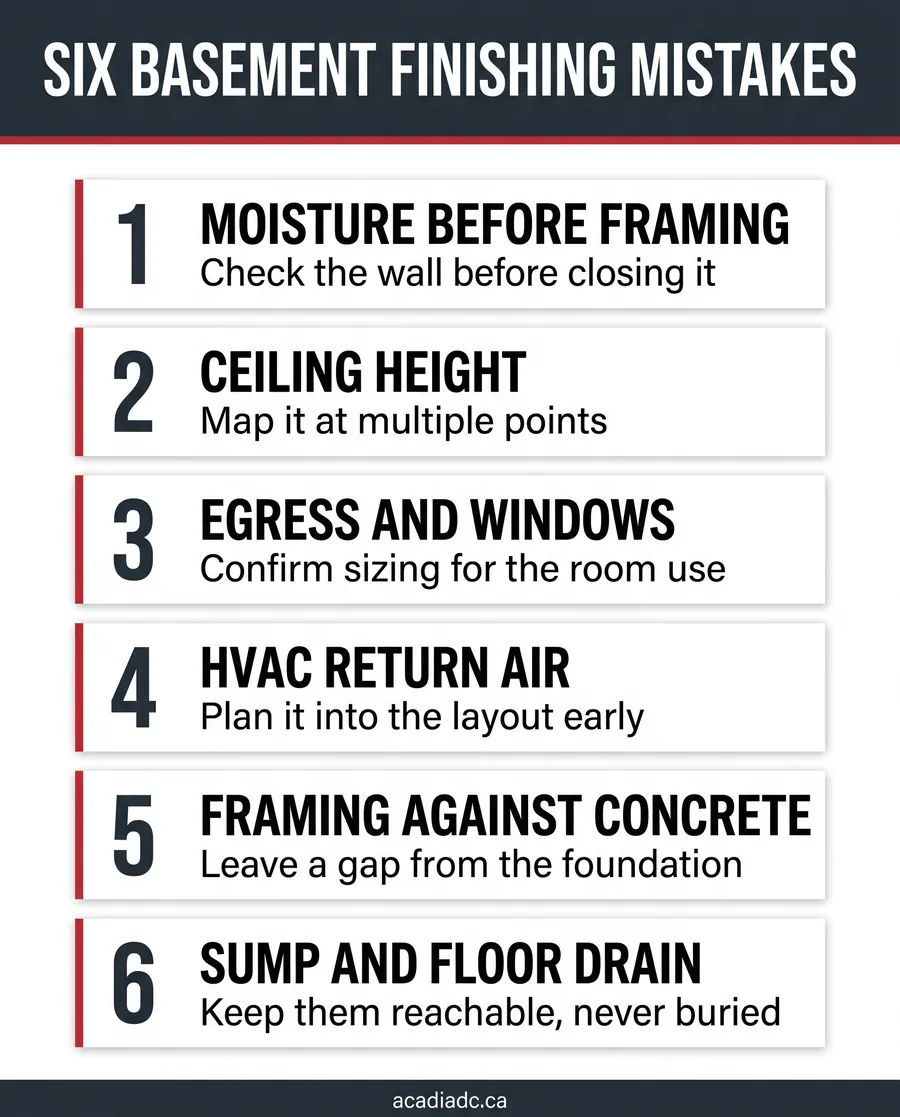
Put the six basement finishing mistakes above in order and a sensible sequence falls out naturally. It starts with an honest assessment of the space: moisture, ceiling height at multiple points, the location of beams, ductwork, the sump, and the floor drain, and whether any room is intended as a bedroom that will need egress. Only after that assessment does a layout get drawn, since the layout decides where walls, the mechanical plan, and the egress window actually go.
| Stage | What gets decided |
|---|---|
| Assessment | Moisture condition, ceiling height at multiple points, beam and duct locations, sump and drain access |
| Layout and design | Room use, whether any room needs egress, gap between framing and foundation, HVAC return air path |
| Permits and drawings | Egress and structural sign-off where required, coordination with the city on scope |
| Rough-in | Plumbing, electrical, and HVAC installed with access points to the sump and drain preserved |
| Framing, insulation, and closing walls | Moisture-appropriate insulation and vapour strategy installed before drywall closes the wall |
Basement finishing in Barrie carries its own municipal review, and the City of Barrie’s permits and applications page is the place to confirm what applies before drawings are finalized. Depending on scope that can mean more than one application, one more reason the assessment step comes before construction, not during it. If your plan also touches a load-bearing wall or beam, that adds a structural layer to the same assessment, which our guide to identifying load-bearing walls covers in more depth.
Good to know
This article is general prevention guidance for Barrie homeowners, not an assessment of your specific foundation, mechanical system, or property. Moisture conditions, ceiling heights, egress requirements, and permit scope vary by property and can change over time. Confirm what applies to your basement with a qualified contractor and, where permits are involved, with the City of Barrie before construction begins.
Download the free quick guide
A printable walk-through covering the six mistakes above: what to check before framing starts and the questions to put to your contractor first.
Frequently asked questions
What is the most common basement finishing mistake in an older Barrie home?
Framing directly against a foundation wall before its moisture condition has been checked. Older foundations are more likely to carry some dampness, and closing framing tight against damp concrete without a gap or a proper vapour strategy is how that moisture ends up trapped behind drywall instead of managed. Have the walls assessed for this before a layout is finalized, especially where the basement has never been finished before.
How do I know if a room in my basement needs an egress window?
Any room intended as a bedroom generally needs its own way out that does not rely on the main stairs, which usually means an appropriately sized egress window. Requirements around sizing and window wells are set out in Ontario’s building regulations and can vary with the room’s use, so confirm sizing for your layout with your contractor and, where a permit applies, with the city before any window opening is cut.
Can I skip HVAC changes if my basement already feels warm enough?
Feeling warm enough today does not mean the return air path is adequate once the space is fully enclosed with finished rooms and closed doors. A basement that was fine as one open area can feel stuffy or uneven in temperature after finishing if return air was not planned into the layout. Review HVAC and return air at the design stage rather than waiting to see how the finished rooms perform.
Is it a mistake to put a closet over the sump pit to save space?
It can be, if the closet does not include a way to reach the pit quickly. The sump exists specifically to handle water when something goes wrong, and burying it behind permanent framing or flooring turns a simple check into a bigger job on the one day you actually need access. A dedicated utility nook with a removable panel lets you use the space without losing access to the pit.
How much of this can I catch myself before hiring a contractor?
You can catch a surprising amount just by walking the space with this list in hand: checking for staining or a musty smell along foundation walls, measuring ceiling height at more than one spot, noting where the sump and drain are, and thinking through which rooms might be bedrooms. That groundwork does not replace a professional assessment, but it makes your first consultation far more useful.
Six basement finishing mistakes to check for before framing starts:
- Moisture dealt with before framing, not covered up by it.
- Ceiling height mapped at multiple points, not just the centre of the room.
- Egress and window sizing confirmed for the room’s actual use.
- HVAC return air planned into the layout, not added afterward.
- A gap kept between framing and the foundation wall.
- The sump and floor drain left reachable, never built over.
If you are planning a basement finishing project and want a second set of eyes on your layout before framing starts, talk to our design and build team. Our crew serving the Barrie area walks through this same list on every project, before the estimate, not after.